How to Create a Timetable for DIY Renovation
- Travis Andersen

- Jun 25, 2025
- 5 min read
Key Takeaways
Planning a detailed timetable is essential for a successful home renovation.
Prioritize tasks to ensure efficient use of time and resources.
Allocate extra time for unexpected delays in your renovation schedule.
Regularly review and adjust your timetable to stay on track.
A well-structured timetable can help reduce stress during the renovation process.
In home renovation, creating a structured timetable is more crucial than ever. With many homeowners taking on the challenge of transforming their spaces, understanding the timeline is key. Typically, a home renovation can span from 9 to 18 months, especially for remote or customized properties.
Start with the End Goal in Mind
Before you pick up a hammer or start tearing down walls, it’s crucial to define what success looks like. A clear end goal gives your DIY renovation direction, keeps you focused, and helps shape a realistic timetable. Without it, it's easy to fall into the trap of endless changes, scope creep, and unnecessary delays.
Ask yourself: What are you hoping to accomplish? Are you renovating to increase resale value, create a more functional space, or just give your home a fresh look? Define the exact rooms, features, or upgrades you plan to tackle—and how you want them to look and function once the dust settles.
This vision becomes the foundation for your timeline. It determines the order of tasks, what needs to be sourced, and how long each phase might take. By starting with the finish line in mind, you’ll work with more clarity, make better decisions along the way, and have a much easier time staying on track.
Break the Project Into Manageable Phases
One of the biggest mistakes DIY renovators make is trying to tackle everything at once. The key to staying organized and on schedule is to break your renovation into clear, manageable phases. This not only makes the project feel less overwhelming—it also helps you allocate your time, tools, and energy more effectively.
Start by outlining each major stage of the project. A typical renovation might include planning and design, demolition, structural changes, electrical and plumbing work, drywall and painting, flooring, and finishing touches. Depending on your scope, you may not need every step—but knowing the sequence helps avoid backtracking or doing things out of order.
Treat each phase as its own mini-project, with specific goals, materials, and a realistic time estimate. This phased approach also makes it easier to adjust your schedule if something unexpected comes up (which it probably will). By tackling your DIY renovation step-by-step, you’ll build momentum, stay motivated, and keep your project moving forward with confidence.
Estimate Timeframes (Then Add Buffer)
When creating a timetable for your DIY renovation, it’s tempting to be optimistic about how fast things will move. But underestimating how long tasks take is one of the most common ways schedules fall apart. The solution? Estimate each phase—and then add a buffer.
Start by researching average timeframes for each part of your project. How long does it typically take to demo a kitchen, install new flooring, or repaint a room? If you’ve never done it before, ask friends, watch tutorials, or consult pros to get a ballpark estimate. Be honest about your skill level and how much time you can realistically dedicate each day or weekend.
Once you have those rough timeframes, add extra time—usually 15–30%—to account for delays, unexpected issues, or life just getting in the way. That buffer gives you breathing room without throwing off your entire timeline.
A renovation that’s slightly ahead of schedule feels great. One that’s constantly behind? Stressful. Build in flexibility from the start, and your DIY project will be smoother, more enjoyable, and far more likely to finish strong.
Plan Around Your Life, Not Just the Project
It’s easy to create a renovation schedule based purely on the work that needs to get done—but if you don’t factor in your real life, that schedule will fall apart fast. Between work, family, errands, and downtime, your renovation has to fit into your lifestyle—not the other way around.
Start by identifying time constraints: Do you only have weekends free? Are there upcoming vacations, school events, or holidays to work around? Make note of high-demand weeks where progress may need to slow down, and build your timetable accordingly.
It’s also important to consider energy and focus. Tackling demolition after a full workday might not be realistic, but knocking out paint or prep on a weekend morning might be perfect. A schedule that honors your routine helps you avoid burnout and keeps the renovation enjoyable instead of overwhelming.
By planning around your life—not just the project—you set yourself up for sustainable progress. It keeps expectations realistic, minimizes stress, and increases your chances of actually finishing what you started.
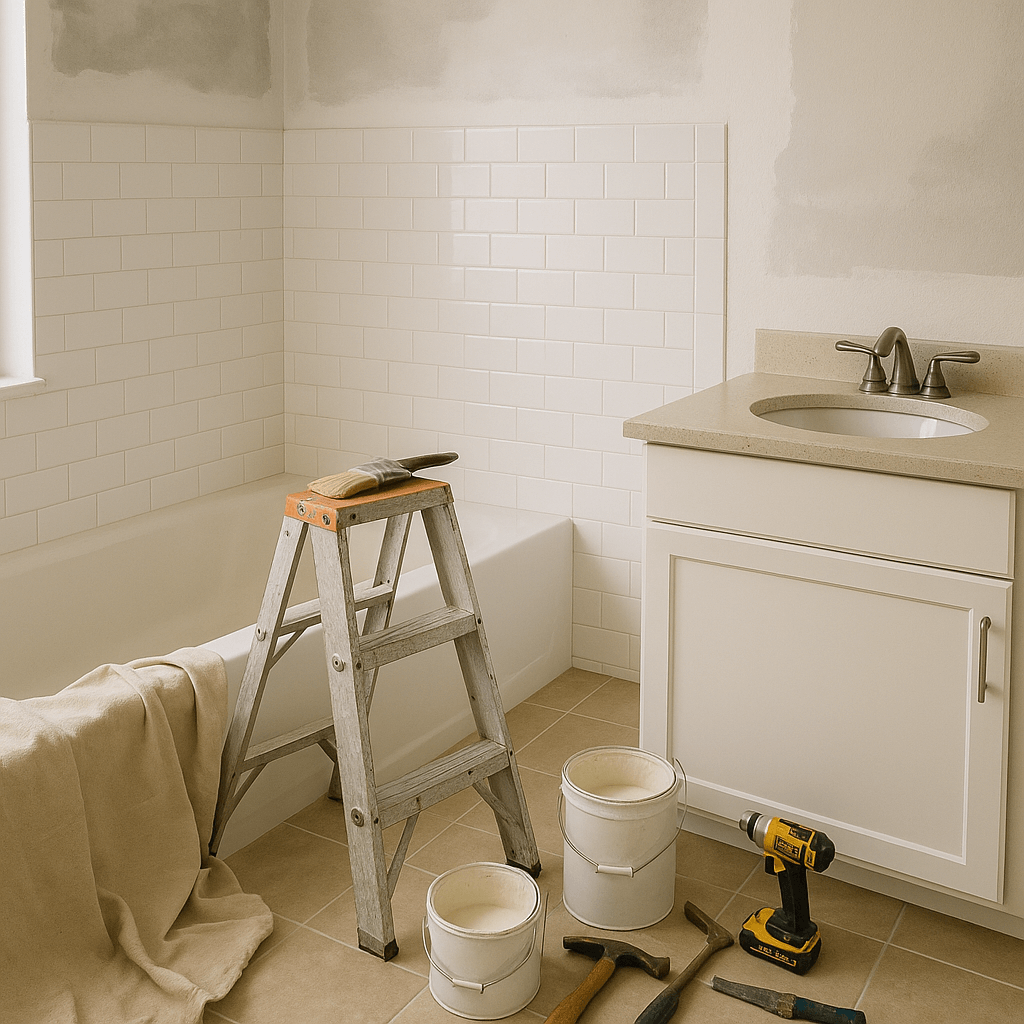
Tools, Materials, and Timing: The Logistics That Make or Break Your Schedule
Even the best-planned renovation can hit a wall if the right tools or materials aren’t available when you need them. Logistics often become the silent schedule killers—delayed deliveries, backordered fixtures, or realizing you need a tool halfway through a project can bring everything to a standstill.
Before starting any phase, make a detailed list of the tools and materials required. If you’re renting equipment, schedule it in advance to avoid last-minute surprises. For materials, order early—especially for specialty items like custom cabinetry, tile, or lighting, which can take weeks to arrive.
Also, consider storage and staging. Do you have space to store supplies as they arrive? Are you clearing out rooms in advance to make room for work?
Being proactive with logistics saves you time, money, and frustration. The more prepared you are on the front end, the more smoothly your DIY renovation will run—allowing you to stick to your timeline and keep your momentum strong.
Stay on Track and Build with Confidence
A well-planned timetable is the backbone of any successful DIY renovation. By staying organized, realistic, and flexible, you’ll set yourself up for progress—not burnout.
PDX Home Revival is here to support your next home project with expert guidance, local resources, and smart design solutions. Let’s talk about your renovation goals today.
Frequently Asked Questions
How do I start creating a renovation timetable?Begin by listing all the tasks involved in your renovation and estimate the time each will take. Prioritize tasks based on dependencies.
How can I ensure my renovation stays on schedule?Regularly review your timetable and adjust as needed. Communicate with contractors and suppliers to avoid delays.
What should I include in my renovation timetable?Include start and end dates for each task, key milestones, and deadlines for ordering materials.
Can I create a renovation timetable myself?Yes, many homeowners successfully create their own timetables. However, consulting with a professional can provide valuable insights and help avoid common pitfalls.


Comments